Guide to the Overmap: Difference between revisions
(Adds piloting guide) |
TripleZeta (talk | contribs) (???) |
||
| Line 1: | Line 1: | ||
[[File:Overmap.png|thumb|354x354px|A view of Shiptest's overmap, from a ghost's eye view.]] | [[File:Overmap.png|thumb|354x354px|A view of Shiptest's overmap, from a ghost's eye view.]] | ||
The Overmap is a representation of local space, featuring ships, hazards, and points of interest. This page aims to provide a quick reference to navigating, as well as any hazards and their effects so you can avoid or prepare for them. | The Overmap is a representation of local space, featuring ships, hazards, and points of interest. This page aims to provide a quick reference to navigating, as well as any hazards and their effects so you can avoid or prepare for them. | ||
==Objects== | |||
{| class="wikitable" | {| class="wikitable" | ||
|+Overmap Objects | |+Overmap Objects | ||
Revision as of 05:35, 31 July 2021
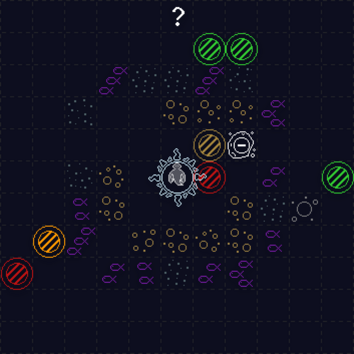
The Overmap is a representation of local space, featuring ships, hazards, and points of interest. This page aims to provide a quick reference to navigating, as well as any hazards and their effects so you can avoid or prepare for them.
Objects
Piloting
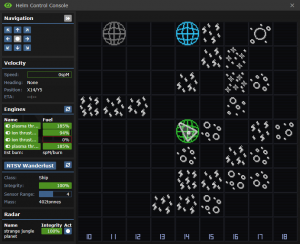
This guide will break down the parts of the helm console display by section, and provide a step-by-step guide at the very end on how to fly like a pro.
Panel Info
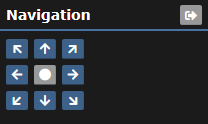
The bread and butter of flying, this panel accepts commands on which direction to burn the engines in. Pressing the middle circular button will cause the engines to fire in reverse, slowing and/or stopping the vessel.
Docking
Additionally, you can use the button in the upper-right to dock/undock your vessel.
Velocity
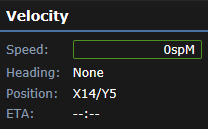
This panel shows the speed, heading(direction), position, and ETA to the next tile of the craft.
Engines
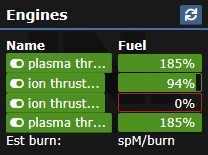
This panel shows the name and fuel level of all the detected engines on the ship. You can click the engine’s names to toggle them to strategically save fuel.
Ship Info
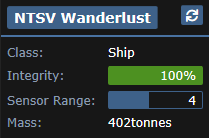
This panel shows the name, class, shield integrity, sensor range, and mass of your vessel. Click the ship name to rename it.
Radar
 This panel shows all of the objects in docking range of your ship. Hit the button in the “Act” column to interact with an object.
Piloting Guide
- Ensure your ship is undocked.
- Ensure at least one engine is on and fueled.
- Press the navigational button in the direction you want to fly.
- Repeat until desired speed is reached.
- When you arrive at the destination, press the central button repeatedly until the vessel stops.
- If you want to dock with the object, go down to the radar tab and hit the “act” button next to the desired docking object.
- You have reached your destination, and are ready to fly anywhere in the solar system!
